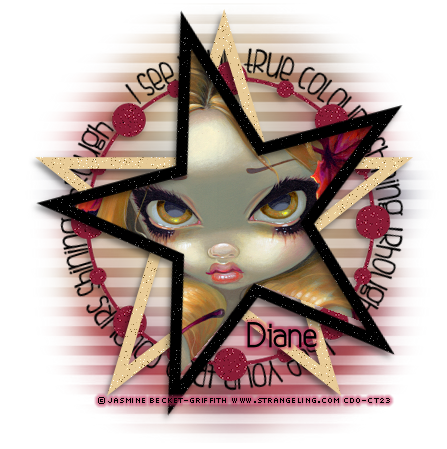
click on the tag to view full size
this tag tutorial was made using artwork by Jasmine Becket-Griffith
tubes are available from CDO HERE
extra's/snag's are available from my fotki HERE
...............................................................
add masks to your masks folder
..............................................................
open up a new canvas 650x650 pixels
you can always crop later...
copy and paste tube onto your canvas
copy and paste tube onto your canvas
go to Adjust -Blur - Guassion Blur
change the ratio to 20
and apply mask 12
and apply mask 12
by going to LAYERS - LOAD/SAVE MASK - LOAD MASK FROM DISK
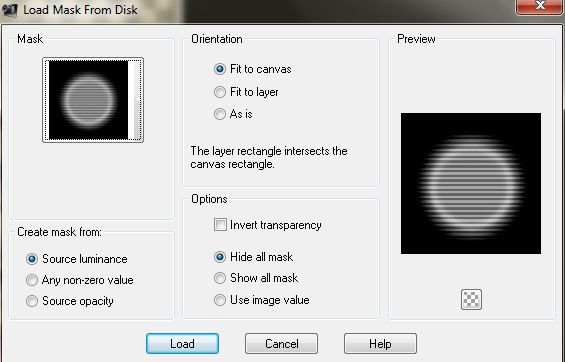
click load
go to Layers - Merge - Merge Group
then resize by 80%
Copy and paste tube again
click on your preset shape tool foreground black, background null
I chose a star -width 15 see settings below

convert to raster layer
go to Image - Rotate Left by 15
then add noise by going to
Adjust - Add/Remove Noise -Add Noise
use these settings
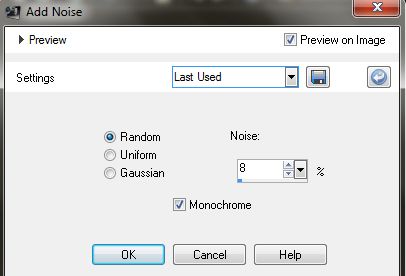
then click inside the star with the magic wand tool
go to selections - expand by 2
then make your tube layer the active layer by clicking on it
and then go to Selections invert and hit the delete key to remove the excess
go to selections none
then add another star using the same method as before
this time using a lighter colour I used colour code #e8cb97
add the same noise as before.
and slide this layer beneath the black star
add drop shadows to both stars
next select the text tool
cropCircleDingbat font size 472 colour - #881c35
hit the - comma key on your keyboard it will give you a shape
convert to raster layer
add noise same as before
resize 90%
add drop shadow
slide this layer beneath the 2 stars
clcik on the preset shape tool
and choose the Ellipse option
background fill with any colour and foreground null
you want it to be about the size of the crop circle shape you made earlier
when happy with placement and size
click on the text tool make sure your background fill is black and foreground is null
hover your mouse over the edge of the circle untill a little A appears.
when it does click and write your text
(The font size very much depends on the font you choose and the size of your circle)
I used fish fingers font size 36 background black - foreground null
once happy with your text
click on the tiny plus sign in the layers pallette on the text layer
it will change to a minus sign
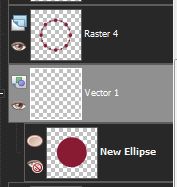
and will open up a hidden layer - delete the bottom one by clicking on the little eye
this will delete the circle but leave your text.
convert to raster layer and add a drop shadow
add artists copyright and your name and save your tag
hope you found this tutorial useful
when happy with placement and size
click on the text tool make sure your background fill is black and foreground is null
hover your mouse over the edge of the circle untill a little A appears.
when it does click and write your text
(The font size very much depends on the font you choose and the size of your circle)
I used fish fingers font size 36 background black - foreground null
once happy with your text
click on the tiny plus sign in the layers pallette on the text layer
it will change to a minus sign

and will open up a hidden layer - delete the bottom one by clicking on the little eye
this will delete the circle but leave your text.
convert to raster layer and add a drop shadow
add artists copyright and your name and save your tag
hope you found this tutorial useful





cefnts84b
ReplyDeletegolden goose outlet
golden goose outlet
golden goose outlet
golden goose outlet
golden goose outlet
golden goose outlet
golden goose outlet
golden goose outlet
golden goose outlet
golden goose outlet