*old tut moved from my tut site*
This tag tutorial was written by me 20/02/07 any resemblance to any other tut is purely coincidental
I am using the artwork of Dean Yeagle you can get his tubes from CDO however you can use any tubes you like...
tubes and a mask of choice....
I used a heart shaped one 'VIX_MASK13 from here thanks Vix hun x...
again you really could use any shape you like, once you know how ;)
once you have chosen a mask to use, make sure it is placed in your masks folder in PSP for use later.
.......................................................
Open raster a new canvas 500x 500
Flood fill with white
Choose 3 or 4 tubes of you liking , and arrange them on your canvas
I added the the middle tube last so it was on the top layer and placed it slightly lower than the other 2
now go to Adjust - hue and saturation - colourise
adjust the hue and saturation both to '0' on for all tube layers
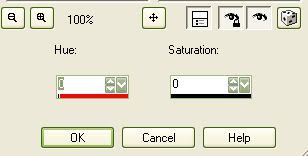
all tubes should now be grey...
X out your white background layer
(hide the visability of this layer on your layers menu by clicking on the eye symbol - As you do not want to merge this layer yet)
now merge visible Layers
(hide the visability of this layer on your layers menu by clicking on the eye symbol - As you do not want to merge this layer yet)
now merge visible Layers
* Important - now make your white filled layer visable again *
Add a new layer and flood fill with a colour or Gradient of your choice
IF YOU ARE NOT SURE HOW TO MAKE A GRADIENT TRY HERE FOR A GOOD TUT ON IT
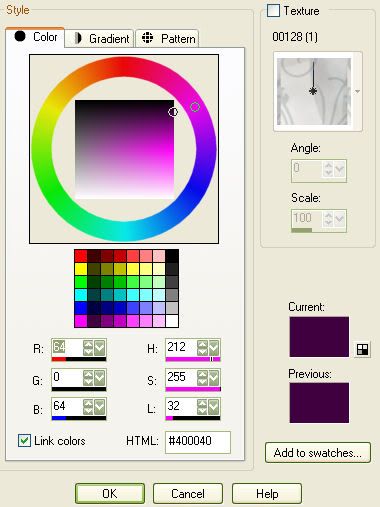
I used Foreground HTML no:#400040 and Background HTML no: #e1cfb7
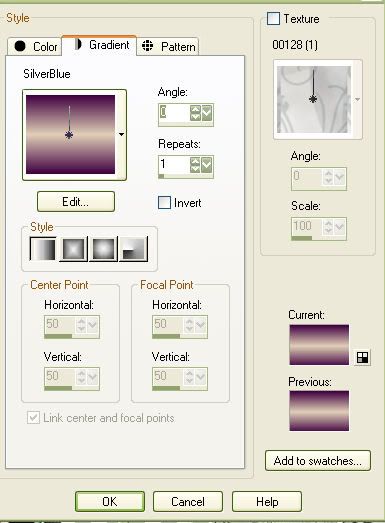
now you have your gradient colours choose these settings for your gradient
floodfill your canvas then change the blending node to Burn
as shown below
as shown below
by going to Layers - Properties - Burn
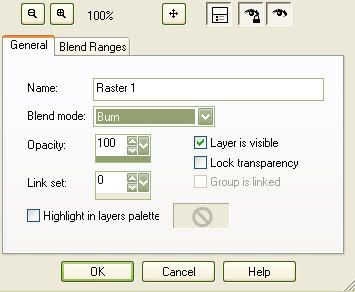
MERGE ALL
Reduce opacity to around 70
Reduce opacity to around 70
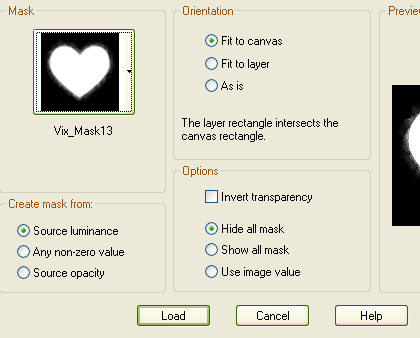
Layers - LOAD/SAVE MASK- Load mask from disk
Select your mask in the dropdown with the following settings
Select your mask in the dropdown with the following settings
Click OK
Right click on your layers and merge group.
now go to Effects - Texture effects– WEAVEwith these settings
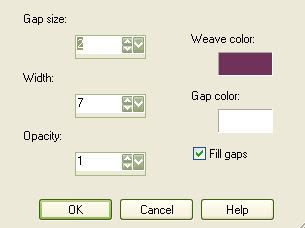
Merge all again
Select this as your fill for your text in the pattern section of background fill instead of a colour and make the foreground the dark purple you used before.
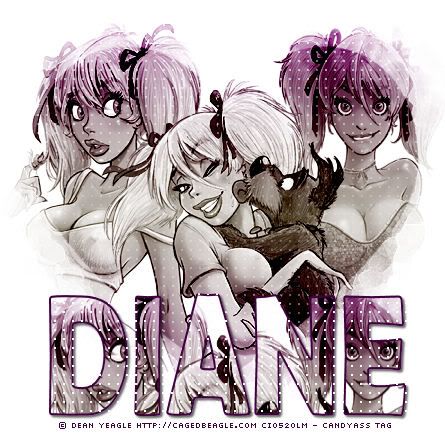
Add your text using a chunky font and stretch out to a nice size so that you see the faces in your words.
I used Berlin Sans FB Demi on the folowing settings

Add a drop shadow I used v2 h2 opacity 60 blur 3 colour #3a283a
hope you enjoyed this tutorial xx






No comments:
Post a Comment