*old tut moved from over from my tut site*
This animated tag tutorial was written by me Diane Knight on 08/05/07 any resemblance to any other tut is purely coincidental
you will need PSP AND ANIMATION SHOP
fantastic artwork by Mitch Foust, you will need his permission to use his art, if you do not have it then just use a different tube.
Please take the time to check out his deviantart site. HERE
fantastic artwork by Mitch Foust, you will need his permission to use his art, if you do not have it then just use a different tube.
Please take the time to check out his deviantart site. HERE
supplies HERE
bn machine font HERE
For this tut you will need Winrar to open the supplies
PSP, and Animation Shop
No outside filters or plugins needed
PSP, and Animation Shop
No outside filters or plugins needed
Unzip my supplies and open in PSP
open a new canvas 600 x 600 and flood fill with the colour white
*If using my template and tube skip ahead to step 2*
STEP 1
*if you want to use a different tube and colours then all I did to make the background was
select the rectangle preset with the following colours selected:
Background #3d3b45 - Foreground #e6e1d5 -line width 5
I clicked the magic wand inside the rectangle and added some brushes to make an interesting background. Then deselect your magic wand. or go to selections none
select the rectangle preset with the following colours selected:
Background #3d3b45 - Foreground #e6e1d5 -line width 5
I clicked the magic wand inside the rectangle and added some brushes to make an interesting background. Then deselect your magic wand. or go to selections none
Add a drop shadow of V2 - H2 - opacity 47 - blur 8 - colour black
That’s the background done.*
Skip to Step 3
That’s the background done.*
Skip to Step 3
Step 2
*Step 2 Copy and paste the template provided…
Step 3
type the word "Dangerous"
I used BN Machine font with the following colours:
Background #3d3b45 - Foreground #e6e1d5 - size 50 - stroke 2
Position over the top of your rectangle...
I used BN Machine font with the following colours:
Background #3d3b45 - Foreground #e6e1d5 - size 50 - stroke 2
Position over the top of your rectangle...
Step 4
Now add your tube resize as needed:
Add a drop shadow of V2 - H2 - opacity 47 - blur 8 - colour black
Add a drop shadow of V2 - H2 - opacity 47 - blur 8 - colour black
And your name at the bottom or whatever you want it to say.
Add the same the same drop shadow as before
Add the same the same drop shadow as before
Add your ©
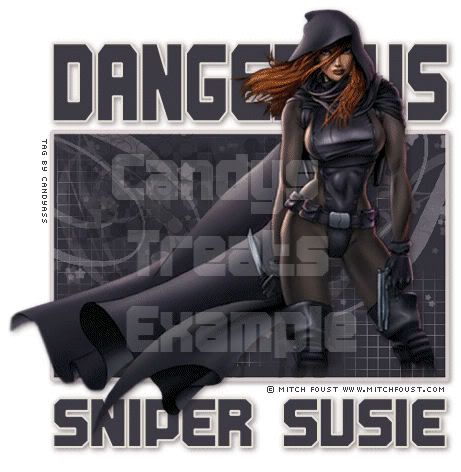
So you should have something that looks like this now:
ok, now onto the animation:
...................................................................
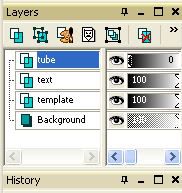
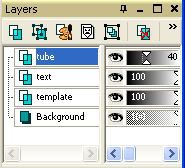
Click on the layer that your tube is on
and lower the opacity of the tube down to "0"
This is done by sliding the little arrows down the bar until you hit 0
(See screen shot below:)
Edit - copy merged and paste
into Animation Shop...
Back to PSP
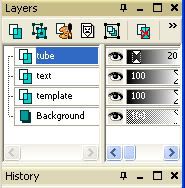
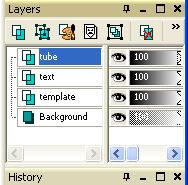
slide your opacity up to 20
Edit - Copy merge and paste - after current frame - in Animation Shop
Back to PSP
slide your opacity up to 40
Edit - Copy merge and paste - after current frame - in
Animation Shop
repaeat again at 60%
then again at 80%
then again at 100%
Still in Animation Shop
go to Edit – Select All
Then...
Edit - Copy - then Edit and paste as new animation
go to Edit – Select All
Then...
Edit - Copy - then Edit and paste as new animation
Now go to Edit – Select AlL
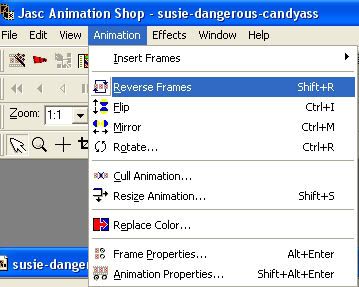
With everything selected go to Animation - Reverse Frames
Then go to Edit - copy then click on your original animation and
Edit - paste after current frame:
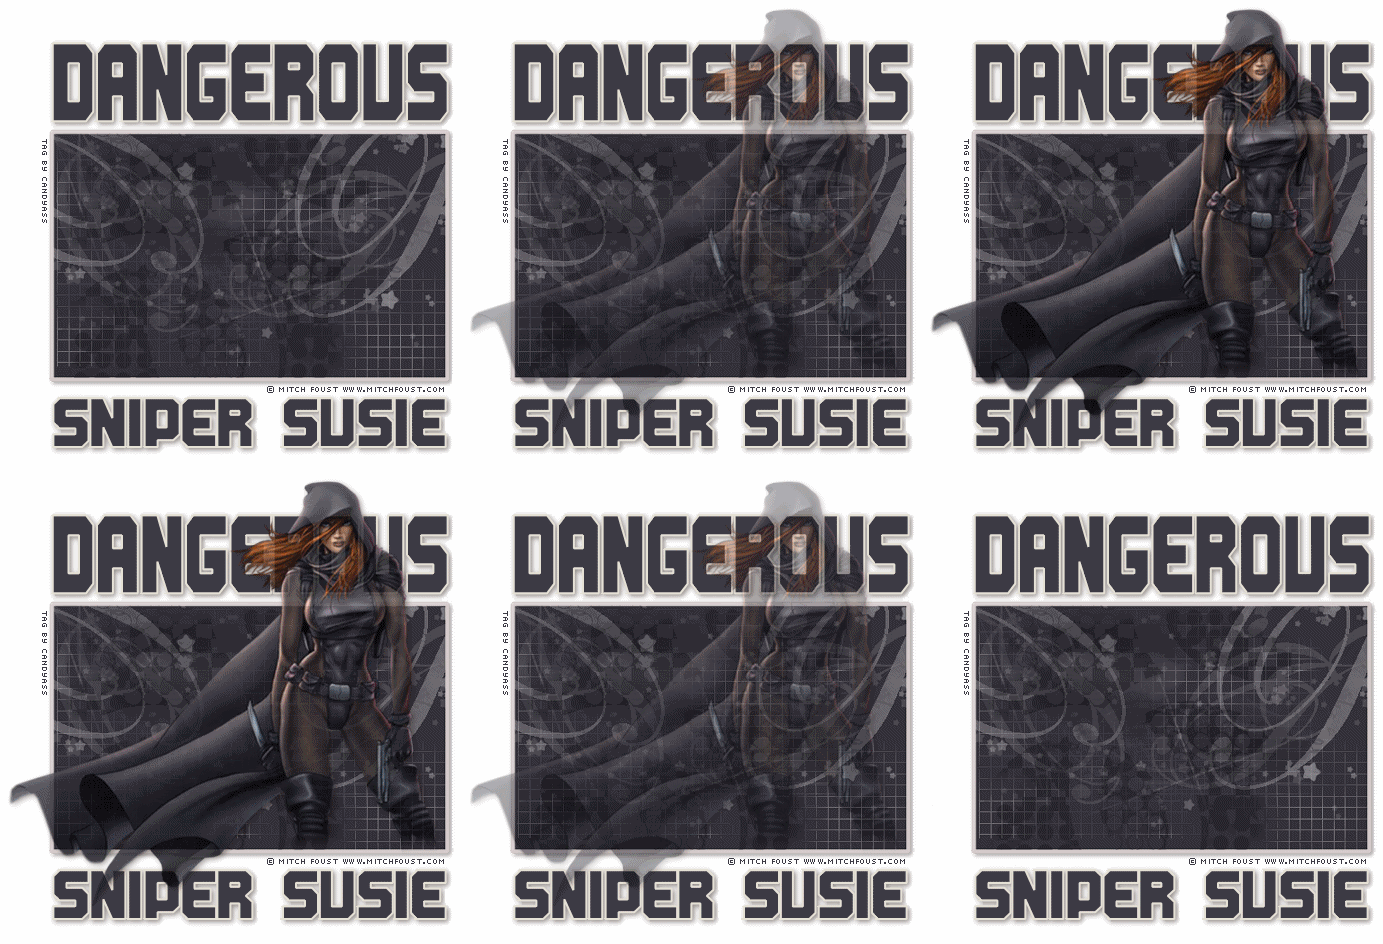
You should now have an animation 12 frames long.
The girl (or the tube you chose) should fade in and out when you view the animation
The girl (or the tube you chose) should fade in and out when you view the animation
Almost done -
go to Edit - Select all
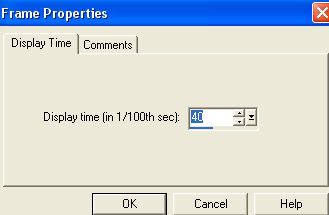
Then Animation – Frame Properties and a pop up box will appear
Change the display time from 10 to 40:
go to Edit - Select all
Then Animation – Frame Properties and a pop up box will appear
Change the display time from 10 to 40:
Save your animation as a gif and your done!



No comments:
Post a Comment