*old tut moved over from my old tut site*
this is another way to fade images....
this is another way to fade images....
This animated tag tutorial was written by me Diane Knight on 31/3/07 any resemblance to any other tut is purely coincidental
she is a general permission but please check out her terms HERE
.................................................................................
Obviously you can use any images you have permission for ..
.................................................................................
Obviously you can use any images you have permission for ..
just make them the same size as mine;) and your good to go.
for this tut you will need PSP, and animation shop
Open a new canvas 450 X 450 - floodfill with the colour, white
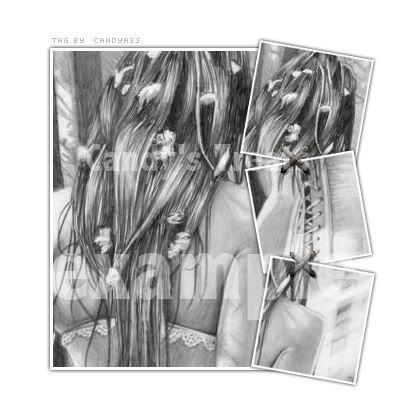
Copy and paste your choice of image for the main part of the tag (1) as a new layer
now add 3 close up images and place and arrange them down the side of your
main image.
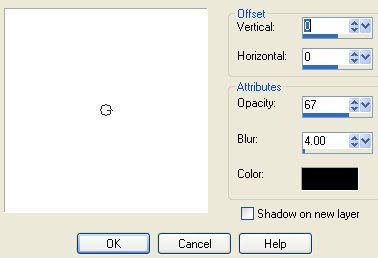
Add a drop shadow to each layer using the same settings as before.
main image.
Add a drop shadow to each layer using the same settings as before.
Add the stitches (see my tag below for placement)
You should now have something that looks like this:
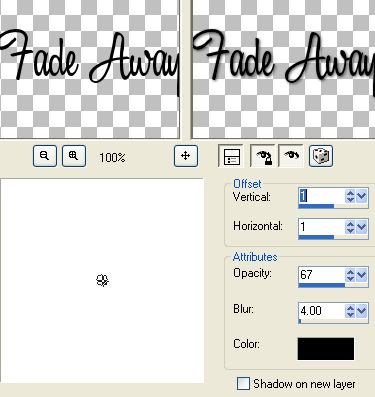
add a drop shadow to the text
Effects - 3D effects – drop shadow
I used the settings below:
Ok you could finish the tag here and save as a jpg
or you could do the animation.
...............................................
Animation.
In PSP go to Edit – copy merged
now copy and paste into Animation shop
back to PSP
find your main image 2 from the supplies
click on the layer with the main image on your tag.
and copy and paste image 2 as a new layer
on top of the main image in exactly in the same place..
you want it exact otherwise when you animate it will jump around.
Go to - Edit - Copy merged
Now back to animation shop and paste after current frame
Repeat this step for main image 3
Again pasting after current frame
In animation shop you should have 3 frames to your animation.
Click on frame 1
Go to Effects - insert image transition –
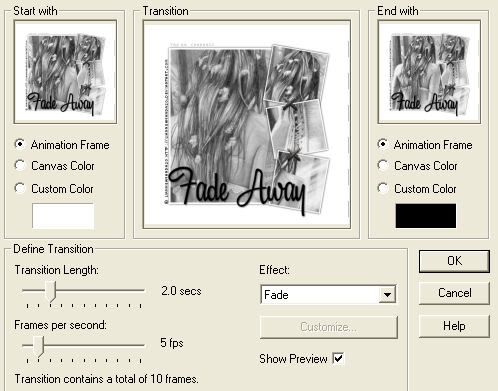
This will add frames to your animation….
Now click on frame 12
Again go to effects – insert image transition – Fade
add the same settings as before.
Now click on frame 1 and copy and paste it after the very last frame (you should have 24 frames now).
Click on frame 23
Again go to effects – insert image transition
And add the fade with the same settings as before -
Crop around your image if needed.
Save as a gif and your done.




No comments:
Post a Comment