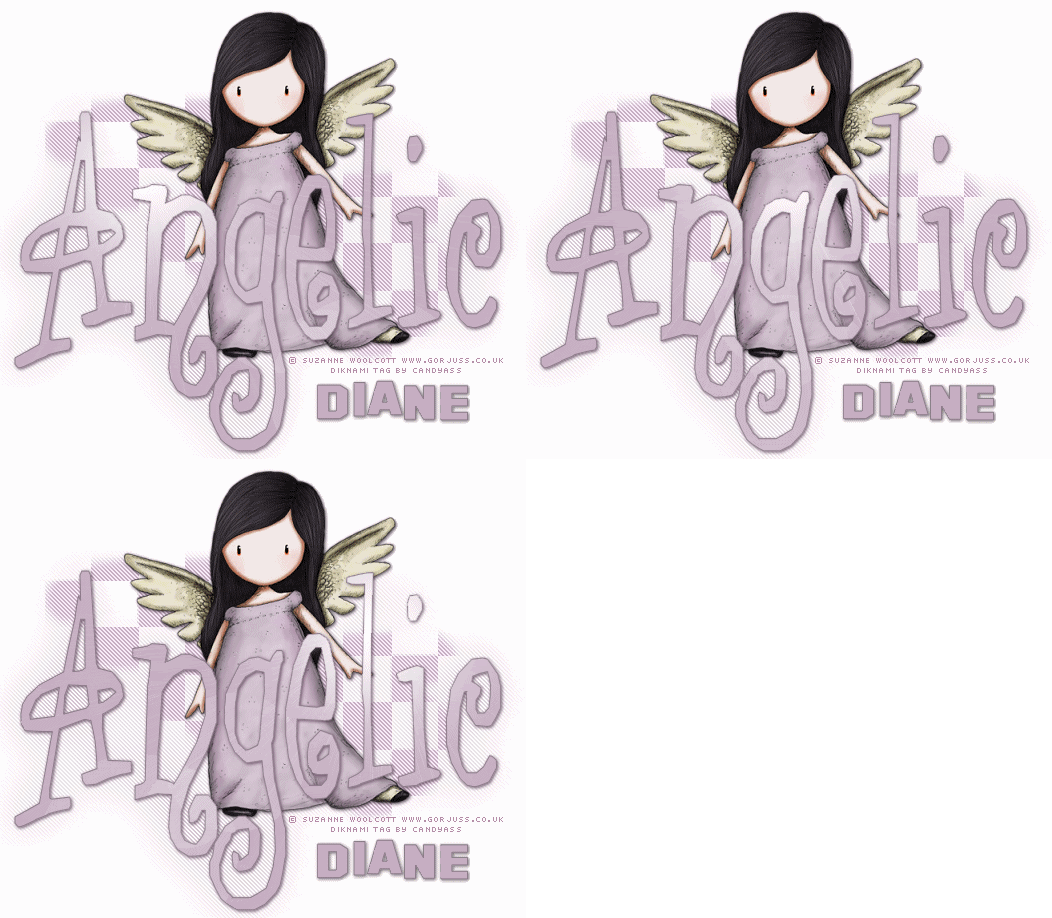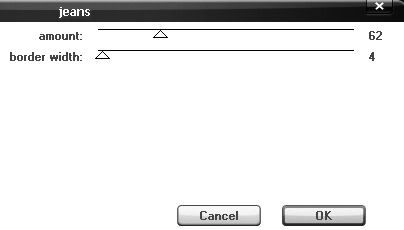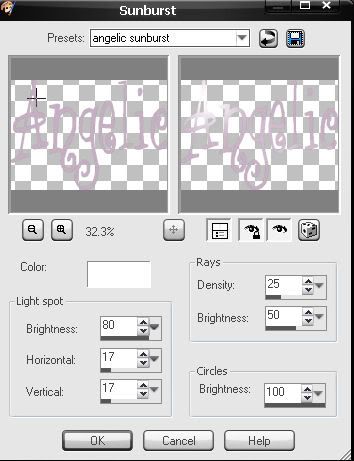
This tutorial was written by me Diane Knight on 6th November 2007
any resemblance to any other tut is purely coincidental
For this tut I am using the fantastic artwork of Suzanne Woolcott
Her tubes are available for PSP usage from HER STORE
you will need PSP, plugin - penta.com get it from HERE
*Download the one called Garbage Collections WinEMac*
brushes used were from Suzanne woolcott's website HERE
i used the ones called Gorjuss checks
font used was Angelica get it from HERE
............................................................
before we start download all the supplies and add the brushes
open a new canvas 600 x 600
flood fill with white
resize as necassary i resized this tube by 90% twice then went to
adjust - sharpness - sharpen...
as when you resize it can blur your image a little. now add a drop shadow I used:
vertical 1 horizontal 1 opacity 80 blur 5 and a very dark purple colour selected.
then Add the word 'Angelic' using the angelica font with these settings
now stretch it up and out a little so it fills the canvas a little better.
add a new raster layer, and slide it underneath your tube layer ..
now click on your airbrush tool(where the paintbrush tool is)
and select the brush called gorjuss check 3 with the settings as below in the screenshot
now go to Effects - plugins - penta.com - Jeans with the folowing settings.

now with the whole word selected
go to Effects - Illumination Effects- Sunburst with the following settings.

now go to Selections None - go to Edit-copy merged
then paste into Animation shop as a new animation
click undo twice
(this should make your text selected again and get rid of the sunburst you did before)
go to Effects - Illumination Effects- Sunburst
with the same settings as before but this time change the horizontal to 50
then Selections None - go to Edit-copy merged
then paste into Animation shop after current frame
back to PSP
click undo twice
go to Effects - Illumination Effects- Sunburst
with the same settings but this time change the horizontal to 75
then Selections None - go to Edit-copy merged
then paste into Animation shop after current frame
ok now while in animation shop go to Edit- Select all
then go to Animation - frame properties and change the display time from 10 to 25
thanks for trying my tutorial
Diane xx


No comments:
Post a Comment