old school tutorial
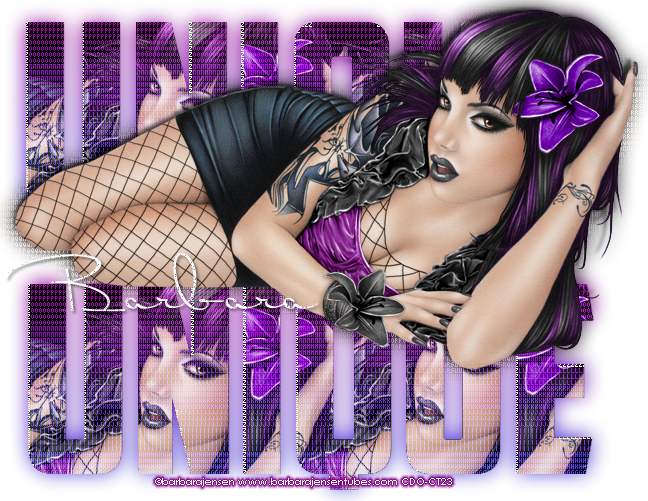
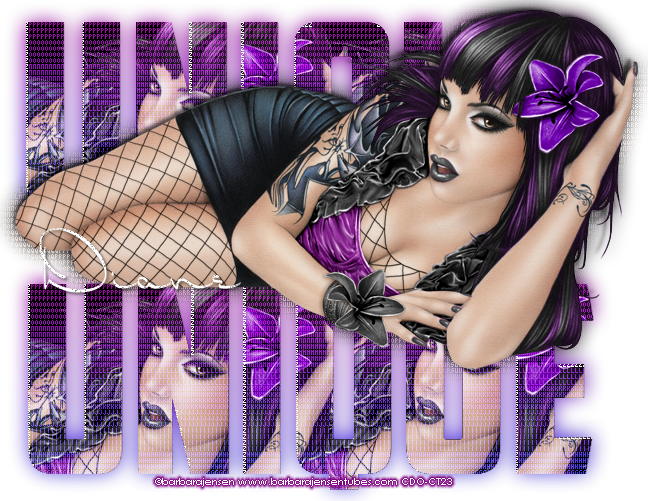
click on the preview to see the tag full size
.......................................................
you will need the stunning artwork of Barbara Jenson
her own site is HERE
this tube is from CDO here under Exclusive tubes (tube1)
her own site is HERE
this tube is from CDO here under Exclusive tubes (tube1)
and a plugin called VM Experimental - Every picture tells a story
if you dont have it just google it and install it
a fat font of choice, I used American Captain get it free here
A gradient of choice, find some HERE HERE or HERE
......................................................................................................
open up a new canvas 700x700 pixels, you can always crop later.
Write the word UNIQUE in capitals with the font american captain
settings - size 200 set to bold.
background colour set to white / forground null
go to selections all - selections float then then add gradient of choice as a new layer
I used one called fairydust but cant for the life of me remember where i got it sorry.
copy and paste tube twice as a new layer (each time) then go to selections invert and hit delete key for both tube layers to remove the excess
go to selections none
then go to Layers - merge down
this will merge both tube layers onto 1 layer
go to Layers -Properties
and change the opacity blend mode from normal to screen
in the drop down box that appears.
you should have something like this
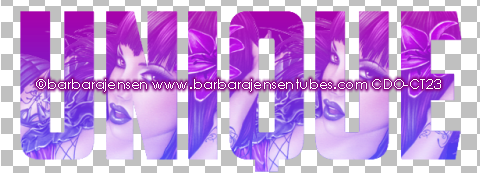
duplicate this layer
arrange so one word is above the other
duplicate again,
and on the very bottom one go to Adjust - Blur - Gaussion Blur
change the radius value to 10
see screenshot below.
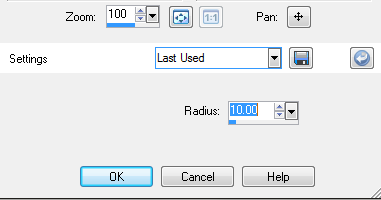
click ok
duplicate this layer and arrange so one blur sits atop the other
make one of your merged text layers your active layers
and apply the plugin
do this by going to Effects - Plugin - VM experimental - every picture tells a story
using these settings
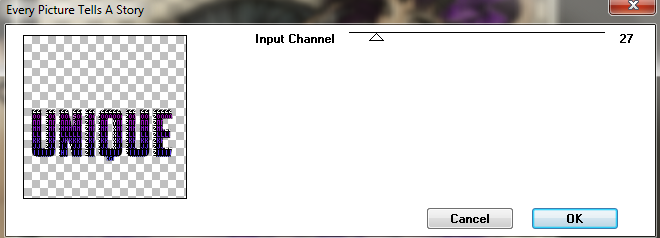
click ok
repeat with both 'unique' text layers
add tube using the colours of choice to match your gradient,
there are many to choose from with this tube.
duplicate the tube and use the same plugin on the bottom tube
and your copyright and your name
font used for my name was Dr Carbfred
background white/ foreground null size set to 72
I also then converted it to a raster layer and added some glitter/noise
by going to Adjust- add/remove noise - Add noise
choose Random /Monochrome and change the number to 30.
save your tag as a png.
a fat font of choice, I used American Captain get it free here
A gradient of choice, find some HERE HERE or HERE
......................................................................................................
open up a new canvas 700x700 pixels, you can always crop later.
Write the word UNIQUE in capitals with the font american captain
settings - size 200 set to bold.
background colour set to white / forground null
go to selections all - selections float then then add gradient of choice as a new layer
I used one called fairydust but cant for the life of me remember where i got it sorry.
copy and paste tube twice as a new layer (each time) then go to selections invert and hit delete key for both tube layers to remove the excess
go to selections none
then go to Layers - merge down
this will merge both tube layers onto 1 layer
go to Layers -Properties
and change the opacity blend mode from normal to screen
in the drop down box that appears.
you should have something like this

duplicate this layer
arrange so one word is above the other
duplicate again,
and on the very bottom one go to Adjust - Blur - Gaussion Blur
change the radius value to 10
see screenshot below.

click ok
duplicate this layer and arrange so one blur sits atop the other
make one of your merged text layers your active layers
and apply the plugin
do this by going to Effects - Plugin - VM experimental - every picture tells a story
using these settings

click ok
repeat with both 'unique' text layers
add tube using the colours of choice to match your gradient,
there are many to choose from with this tube.
duplicate the tube and use the same plugin on the bottom tube
and your copyright and your name
font used for my name was Dr Carbfred
background white/ foreground null size set to 72
I also then converted it to a raster layer and added some glitter/noise
by going to Adjust- add/remove noise - Add noise
choose Random /Monochrome and change the number to 30.
save your tag as a png.





This comment has been removed by a blog administrator.
ReplyDeleteThis comment has been removed by a blog administrator.
ReplyDeleteFantastic Tut Just loved it i tryed it out well put togeather and easy to understand thank you ..... Cheers.
ReplyDeleteyay! xx
ReplyDelete