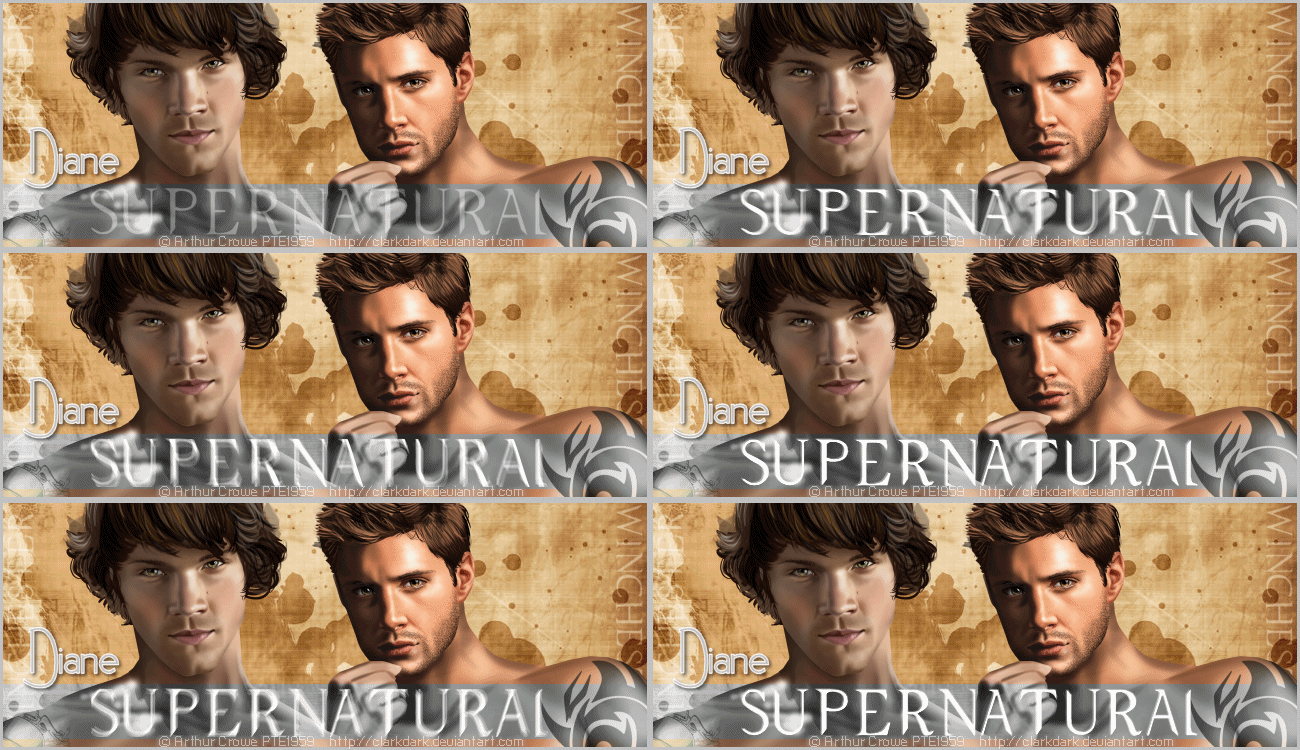
hey everyone, I just made this tag, and I quite like it,
may have something to do with the fact that I LOVE the Supernatural tv show....
anyhoo I thought I would share how I did it...
so for this tut you will need..
these tubes come with additional close up layers
FREE grunge paper texture by Arghus from Deviantart HERE
supernatural knight font get it free here
......................................................................
open up new canvas 650 pixels by 250
open up new canvas 650 pixels by 250
ok so open up the texture in psp and rotate right by 90
and copy and paste as a new layer onto your canvas
then type the word WINCHESTER in the supernatural font
material pallette background set to white , foreground on null, font size 40
convert to raster layer
arrange to the right side of the tag
then- go to image - duplicate - image mirror flip
material pallette background set to white , foreground on null, font size 40
convert to raster layer
arrange to the right side of the tag
then- go to image - duplicate - image mirror flip
for his tag i used layer2 for both tubes
so add both tubes to your canvas both on a new layer
next with your selection tool set to rectangle, draw out
a long rectangle going the entire length of the canvas,
a long rectangle going the entire length of the canvas,
then floodfill with white, next change the blend mode to hue legacy...
type the word SUPERNATURAL in the supernatural knight font
background fill white, foreground set to null , font size 72
convert to raster layer,
change the blend mode to soft light
add a new raster layer, then floodfill with a light grey -
go to select all - selections modify
contract by 3 then hit the delete key,
then go to selections none.
you should be left with a frame around the edge
add the artist copyright
then change the blend mode of the word 'supernatual'
back to normal and copy and paste as a new animation
into animation shop
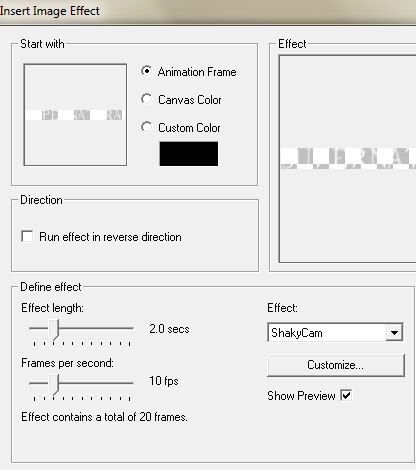
- go to effects - insert image effect
with these settings - shaky cam
this should give you a 21 frame animation
ok leave it open in animation shop we will come back to it...
go back to psp
and change the word supernatural back to soft light
and change the word supernatural back to soft light
go to copy merged and paste into animation shop
still in animation shop go to edit - copy , then edit- paste after current frame
keep repating paste after current frame untill you
have 21 frames...the same number for the text animation...
next make sure the propagate paste button is pressed in, see my screenshot below,
ok now make the text animation you made before your
current canvas then go to edit - select all ,
then go to edit copy and click on the tag animation
go to
edit select all and paste INTO current animation,
make sure the text lines up nicely..
if you make a mistake dont worry click undo button
got to View- animation and if happy save as a gif and you are done
*font for my name - Noir-et-Blanc
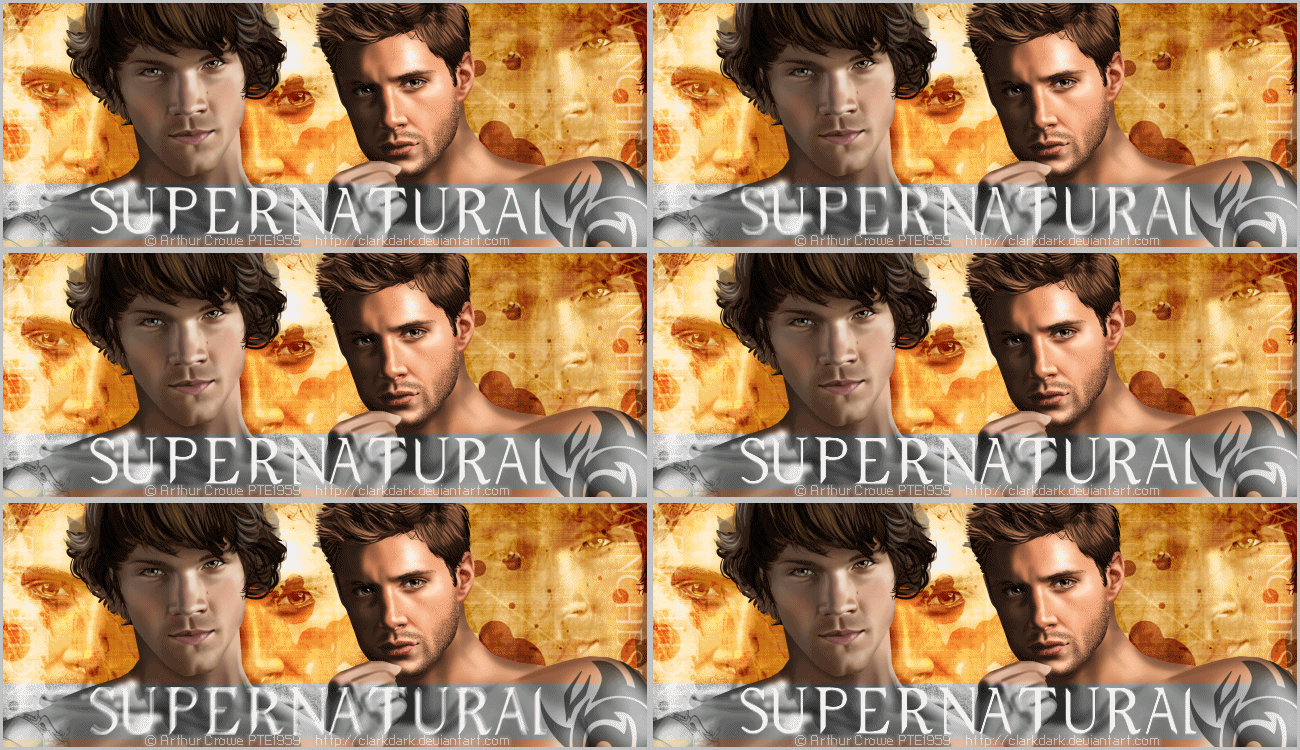
if you like the effect of the blended look in the background of the tag below, then simply use the largest tubes and palce them as you like behind the main images,
and go to layer - properties -
and change the blend mode from normal to overlay ;)
i hope you enjoyed this tutoral
diane xoxo


No comments:
Post a Comment