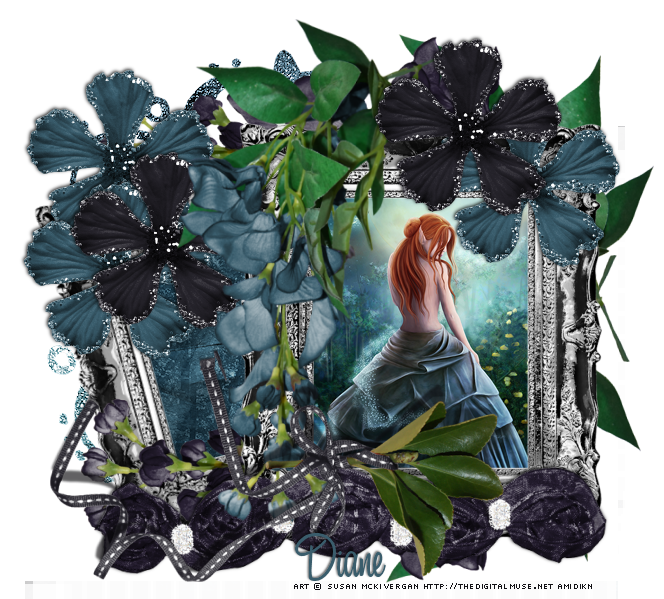
This scrap tag tutorial was written by me Diane Knight
on 10th Feb 2009 any resemblance to any other tut is purely coincidental
For this tut I am using the fantastic artwork of Suzan Justice (Mckivergan)
the tube is called night song , you can purchase her tubes from upyourart.com although my licence is from when she was at AMI..now closed
for this tutorial you may need a basic knowledge of PSP
you will need PSP,
and this stunning Scrap kit by Pimp'd Scraps called Mid Summer Night
.....................................................
open up canvas 650 x600 you can always crop later..i like room to work..
open up frame3 from the kit resize by 70% , then duplicate and rotate right by 75
slide this frame to the bottom.
make a selection inside 1 of the frames go to selection modify expand by 5
then copy and pate paper27 from the kit as a new layer. now go to selection invert and hit the delete key to remove the excess... repeat this for both frames. and slide the papers below the each frame.
copy and paste the star cluster and slide this layer to the bottom, so its underneath the frames and papers. arrange to the left side.
flower3 rotate clockwise 90 resize by 70%, slide this layer between the 2 frames,so that its below the top frame but above the bottom one.
then duplicate the flower3 and then flip it so that its arranged to the bottom of the frames,
add flower2 resize by 60% add this to the top left of the top frame, so that it looks like its draping down the frame
copy and paste flower 7
resize by 60% and arrange to the top left of the canvas, duplicate and arrange slightly lower down ... do the same for flower8 , then duplicate them both and arrange a couple more to the right side...see my tag for placement.
add a drop shadow to each flower, I used vertical -1 horizontal -1 opacity 57 blur 5
flower13 resize by 80% and arange at the bottom of the frames...slide this layer to the top
copy and paste the greensribbon from the kit and resize by 70% and arrange to the bottom of the canvas.
now find your top frame layer and select inside the frame, go to sleections modify expand by 5
then copy and paste an image of choice .. and go to selctions invert and hit delete to remove the excess..slide this layer underneath the top frame.
add your name and © and save as either a jpg or .png
I hope you enjoyed this tutorial xx


No comments:
Post a Comment