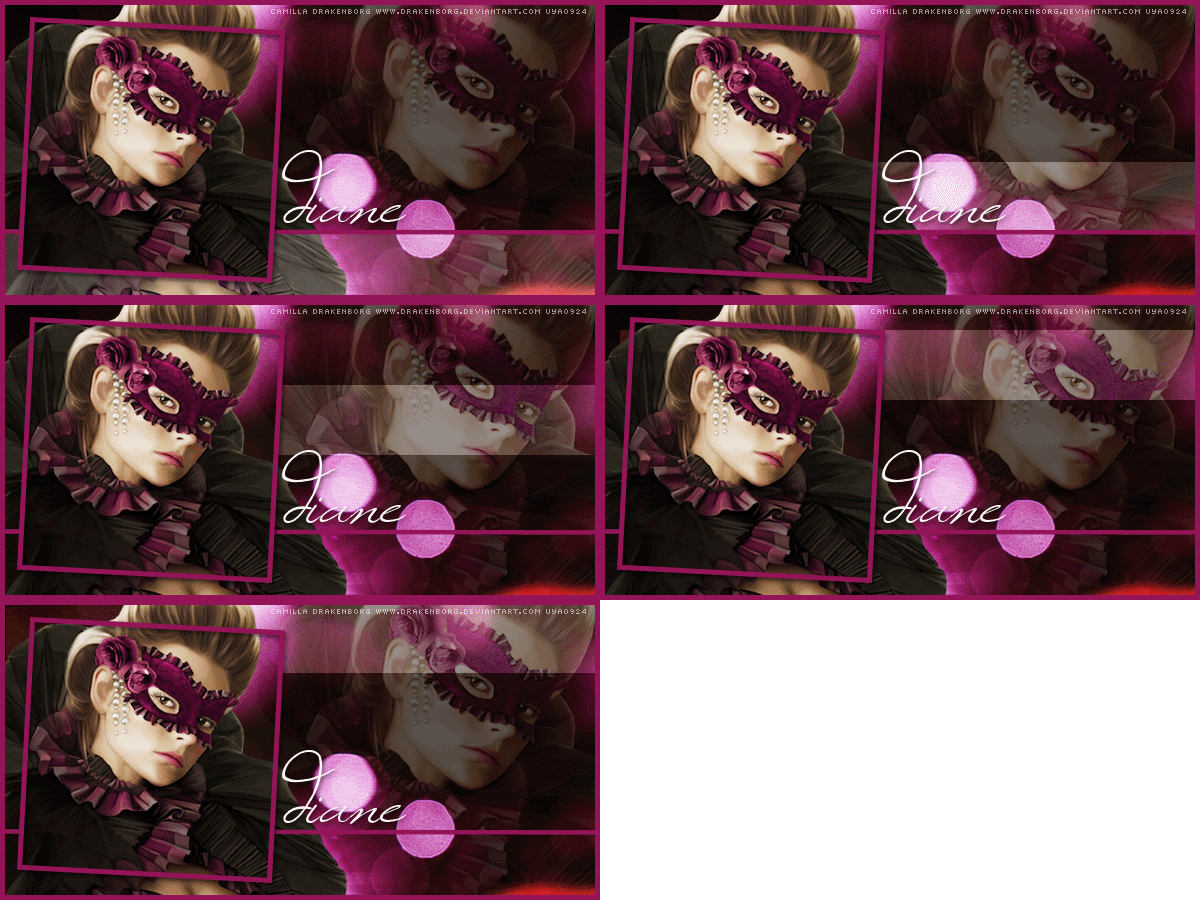
For this tut I am using the fantastic artwork of Camilla Drakenborg
the tube is called Masquerade you can purchase her tubes from upyourart.com
grab a fab bokeh texture from deviant art HERE
I looked for one that had similar colours as the tube I wanted to use
Open a new canvas 650 x 300
resize texture by 650 width pixels using smartsize as mine was pretty large
copy and paste the texture onto your canvas
copy and paste tube onto the canvas, then change the blend mode by going to Layers - Properties - and change the bend mode from normal screen
lower the opacity to 36%
add another tube i used the same one , resize by 80% using smartsize and arrange to the left side
add a new raster layer
thenusing your selection tool on rectangle and draw out a square then flood fill it with a colour from the tube i used colour code #931558
then go to selection modify - contract by 5
then hit the delete key to remove the excess, so you have a white frame
then selection none
then go to rotate free roate right by 3
then add a drop shadow
then add a new raster layer then floodfill with a colour from the tube i used colour code #931558
floodfill layer the go to select all - then selections - modify - contract by 5 and hot the delete key to delete the excess, so you are left with a border around the edge
then with your pen tool, set to width 5 draw out a straight line horizontally across the canvas convert to raster layer
then with your erase the bit inside the box frame you made
then drag this layer beneath the box frame
add your name i used font windsong set on size 90 pixels all lower case
add your copyright
add a new raster layer
then make a selection with your selection tool set on rectangle at the bottom of your tag, make it to fit where inside the line you drew out across the tag earlier
then floodfill the selection with white and set the blend mode to soft light
move this layer beneath the left tube layer
copy merged and paste into animation shop
back to PSP
move the white rectangle above the line
copy merged and paste into animation shop after current frame
back to PSP
move up again this time you may find that a part shows inside the box frame,
simply erase the part that shows in the frame
copy merged and paste into animation shop after current frame
back to PSP
move up again this time line up the rectangle with the top of the box frame, and again erase anything inside the box frame,
copy merged and paste into animation shop after current frame
back to PSP
move up again this time move the rectangle to the top of the canvas,
you may notice that the soft light rectangle doesnt reach far enough over now,
because its above the box frame, so just make another another selection that matches the one you have and floodfill again with white. as the layer is already set to soft light it it should still be transparent
selections none
and again for neatness erase anything inside the box frame,
copy merged and paste into animation shop after current frame
back to PSP
in animation shop go to select all -
then animation - frame properties - and change the dispaly time to 20
save your tag with a unique name and you are done


No comments:
Post a Comment