this tut I am using the fantastic artwork of VINEGAR
This is a pay to use artist so you should not use this artists work without purchasing the appropriate licence to do so - now from PTE HERE
This is a pay to use artist so you should not use this artists work without purchasing the appropriate licence to do so - now from PTE HERE
you will need PSP,
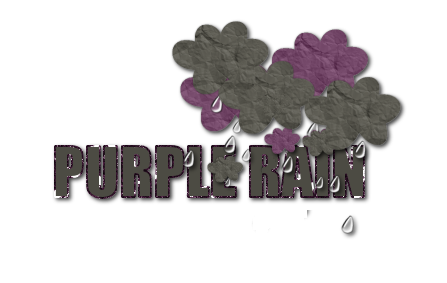
Purple Rain freebie scrap kit by me get it from my blog HERE
.................................................
you will need to Unzip the supplies
...............................................
...............................................
Open a new canvas 600 x 600 pixels
copy and paste flower 5 from the kit resize by 80%
add bracket 1 resize by 80%
add bracket 3 resize by 80%
add bracket 2 resize by 80% then rotate right by 5
add flower stem3 resize by 50%
add wrap3 from the kit and resize by 50% add a drop shadow...arrange across the
middle of the bracket.
middle of the bracket.
copy and paste the clip2 from the kit resize by 50% arrange to the right and add
a drop shadow.
a drop shadow.
copy and paste flower 1 from the kit, resize by 25% add a drop shadow and arrange
to the left bottom of the tag.
to the left bottom of the tag.
add another flower and resize by 15% again add the same drops shadow as before
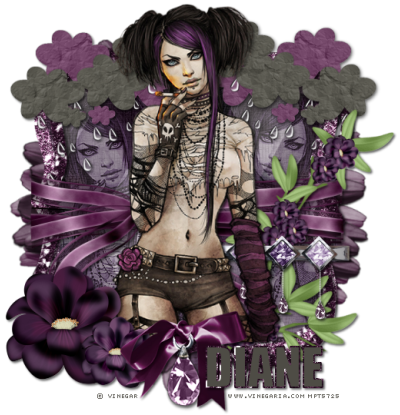
you should have something that looks like this now...

Now add a cloud cluster from the kit, i used clouds3 resized by 50% arranged to
the right then duplicated the clouds layer and mirrored it...now add a drop
shadow to both layers...
the right then duplicated the clouds layer and mirrored it...now add a drop
shadow to both layers...
then find the layer that you added bracket4 to *the glitter frame that you didnt
rotate * and click inside it with your magic wand tool....
now copy and paste your tube again onto your canvas adjust the colour by going to
adjust hue and saturation - colourize , and use the following settings
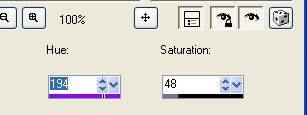
when happy with the placement go to selections invert and hit the delete key to
remove the excess,
repeat for the other side. now lower the opacity on both
coloured tubes to 50 by sliding the arrows on the layer pallette where it says
100 see screenshot below for help.
coloured tubes to 50 by sliding the arrows on the layer pallette where it says
100 see screenshot below for help.
on the clouds layers there were too many raindrops so i just erased the ones i
didnt want ....do this now..just look at your tag carefully and make sure that
not too many raindrops are obscuring her face.
didnt want ....do this now..just look at your tag carefully and make sure that
not too many raindrops are obscuring her face.
now add the bow with the teardrop gem, to the bottom center add a drop shadow..
font used for my name was impact. if you do not have that font, then just choose a fat font that you like.
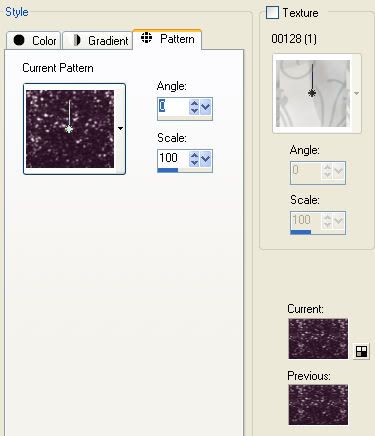
I used a glitter fill from the kit for the stroke pattern and a dark grey colour
from the clouds as my background clour.
I used a glitter fill from the kit for the stroke pattern and a dark grey colour
from the clouds as my background clour.
so just open up glitter 3 leave it open, and click on the foreground/stroke in
the material pallette and click on the dropdown menu, find the glitter pattern
and click on it.
the material pallette and click on the dropdown menu, find the glitter pattern
and click on it.
click ok.
select the background colour to a dark grey i used colour HTML number
#605f57
#605f57
Font settings used were...

now your font is set, just type out your name..
add a drop shadow...
add the artists © and your done.
thanks for trying my tut
xx Diane xx




No comments:
Post a Comment