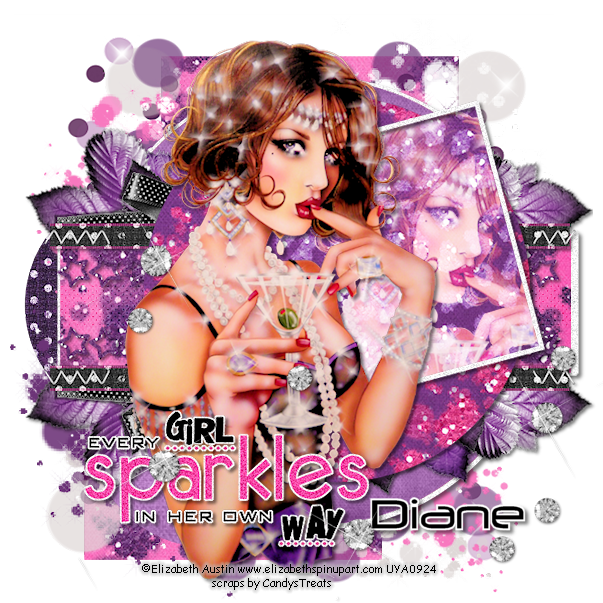
Extras available from me Fotki HERE
For this tut I am using the Beautiful artwork of Elizabeth Austin
you can purchase her tubes from UYA. I used the tube entitled Violet
open up template then go to image - resize canvas 650 x 650 pixels,
you can always resize or crop later
add the bg1 from the kit,
open up cluster overlay2, copy and paste above the rectangle layer,
duplicate then go to image - flip then add a drop shadow to both clusters.
open up paper4 from the kit and resize by 600 pixels,
make the layer 'large circle2 the active layer -
go to selections - select all - selections float ,
then copy and paste the paper4 as a new layer go to
selections invert and hit the delete key on the keyboard to delete the excess..
go to selections none
add a drop shadow
repeat this process for the rest of the layers of the template
for the small circle layer I used paper1
I used paper block1 for the large circle for the square layers I used paper3
for the background frame I used paper6
add paper3 to the rectangle layer
add the diamonds to the top layer
add drop shadow to word art
make the bgframe the active layer then go to selections - select all - sleections float
and then copy and paste the tube over the selection,
go to selections invert and hit the delete key to remove the excess...
go to selections none
go to - layers- layer properties to screen then change the blend mode from normal to screen
if you want to resize your tag or crop now is a good time...
then just add artists copyright and your name and save your tag.
font used for my name was Neuropolitical,
size 48Background colour black, foreground colour white, stroke 2


No comments:
Post a Comment