

old school tutorial
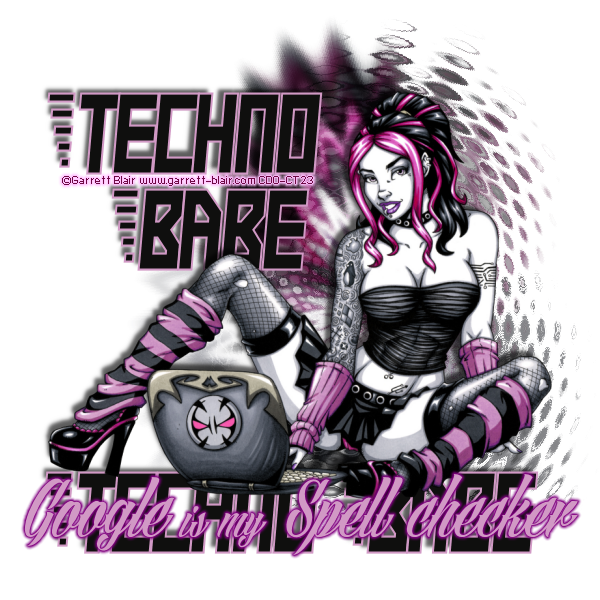
click on the preview to see the tag full size
.......................................................
you will need the stunning artwork of Garrett Blair
you will need to purchase a licence to use this artists work HERE
you will need to purchase a licence to use this artists work HERE
Plugin VM DISTORTION - GEAR
Plugin VM DISTORTION - RADIOPOX
Plugin- Alien Skin Xenofex 2 -Gradient Glow
if you dont have them just google and install them
a fat font of choice, I used Electric Boots font get it free HERE
I also used the Angilla Tattoo font for the quotes/sayings FREE HERE
EXTRAS AND SNAGS can be found here
in my fotki under Garret Blair
EXTRAS AND SNAGS can be found here
in my fotki under Garret Blair
......................................................................................................
open up a new canvas 600 X 600 PIXELS
copy and paste the full tube as a new layer onto your canvas
copy and paste the full tube as a new layer onto your canvas
arrange to the centre of your canvas
next add the closeup tube layer and slide this beneath the full length tube layer
staying on the close up layer,
go to Effects-Blur- Gaussion blur and use these settings
go to Effects-Blur- Gaussion blur and use these settings

©Garrett Blair www.garrett-blair.com CDO-CT23
then go to Effects- Plugins- VM Distortion - Gear
use the following settings

duplicate this layer
then go to Effects- Plugins- VM Distortion -Radial Pox
use the following settings

then change the blend mode of the tube layers in the circle to soft light
do this by going to Layers - properties - change the pop up box from normal to soft light
Write the text Techno Babe with the Electric Boots font
settings - size 72 set to bold.
background colour #0f0f0e foreground colour #d199c5
stroke 2
while its still a vector layer pull out the arrows to stretch it across and down
so that it fills your space across the bottom of the tube
once happy convert to raster layer and add a drop shadow
then cut and paste the techno babe text as a new layer arrange
as i have and slide this layer beneath the main tube layer
then write out your name or saying using the Angilla Tattoo set to size 70
using the material colour #d199c5 (lilacy pink colour)
then apply the glow with these settings by going to
go to Effects - Plugins- Alien Skin eye candy 5 - Impact - Gradient Glow
with these settings
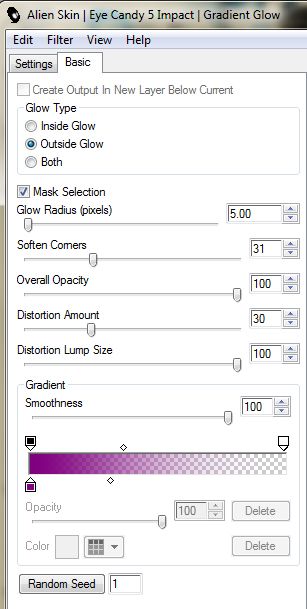
you can change the glow colour to match your tube if you like..
add your artist copyright
and save your tag.


